
360 WiFi® setup & installation
The 360 WiFi system replaces a traditional router to provide premium Wi-Fi coverage. Follow the steps below to install new 360 WiFi service and get up and running.
Video: 360 WiFi installation
VIDEO 3:58
Download the Quantum Fiber app
The first step is to download the Quantum Fiber app and sign in using your email address and account password.
The setup process should take 10-15 minutes. To get started:
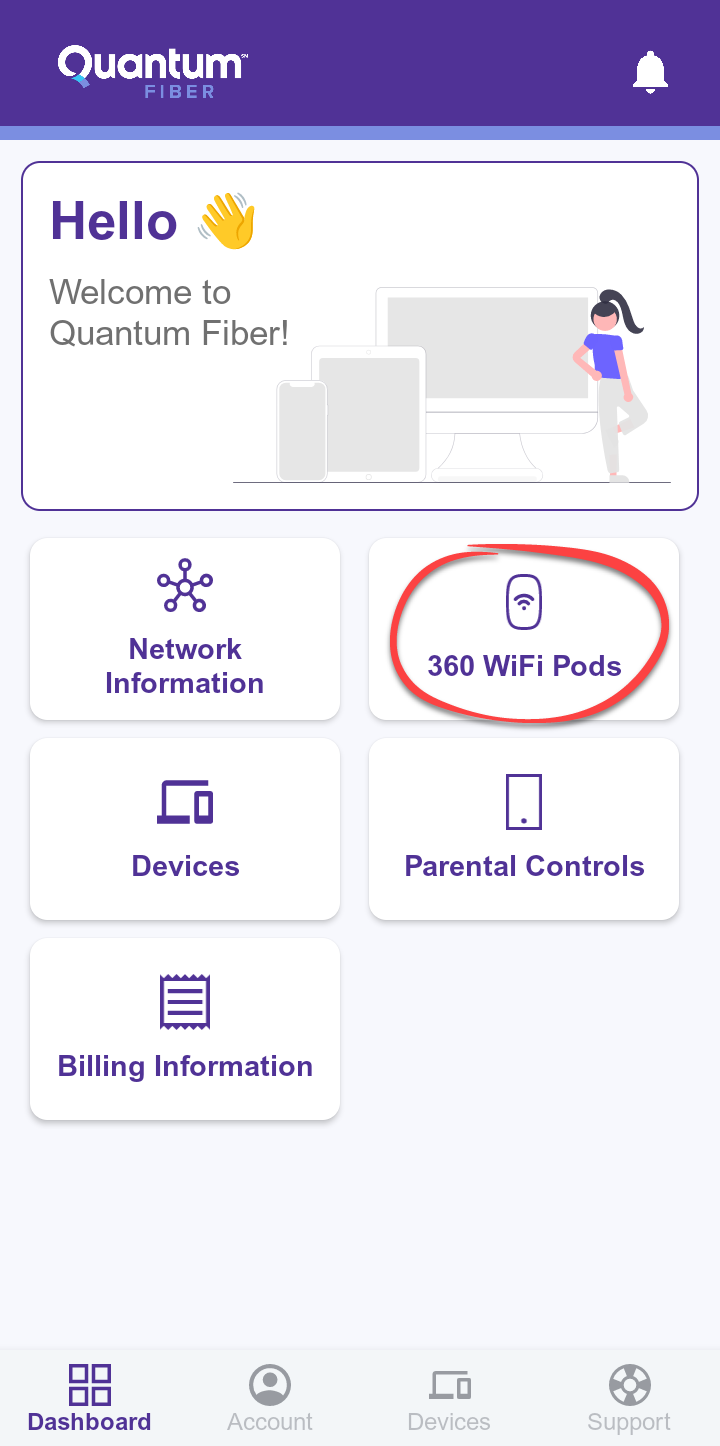
1. Tap on 360 WiFi Pods on the home screen.
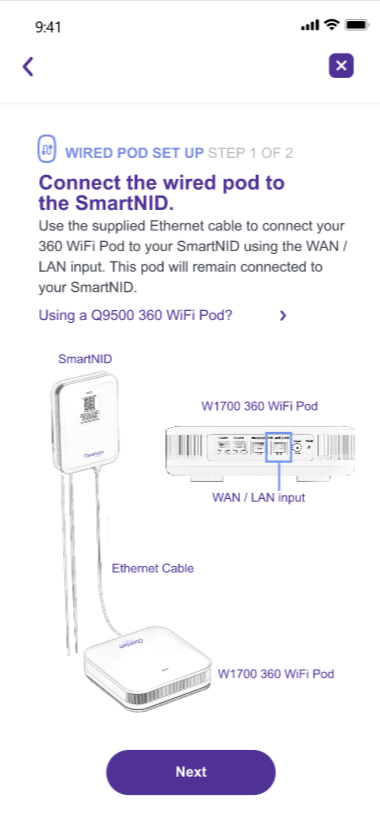
2. Tap to set up wired pod, and follow the instructions to connect your pods and activate your Wi-Fi network.
You can see the screenshots and step-by-step instructions below.

Connect the wired pod and create your Wi-Fi network
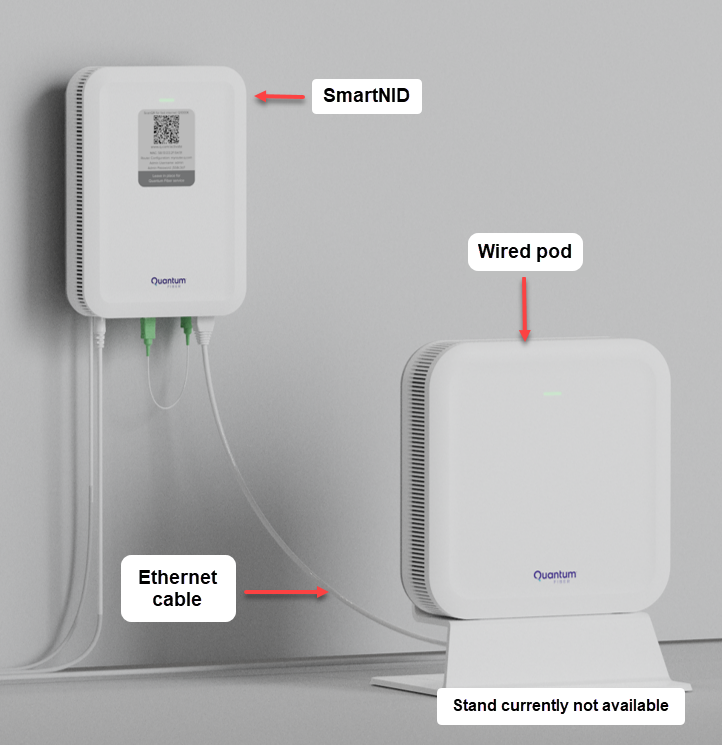
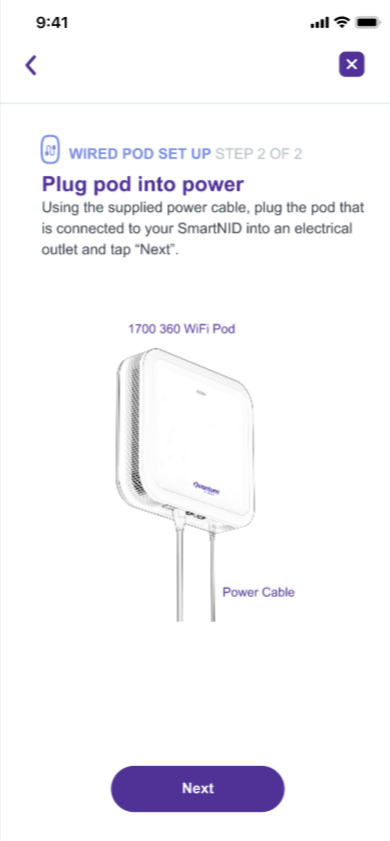
1. Connect the wired pod to the SmartNID. Use the Cat6 Ethernet cable provided. Plug one end into the 10G WAN port on the bottom of the wired pod. Plug the other end into the correct port on the SmartNID (see images below). Then plug the pod into an active outlet using the power cord provided. Do not plug into a power strip or splitter.
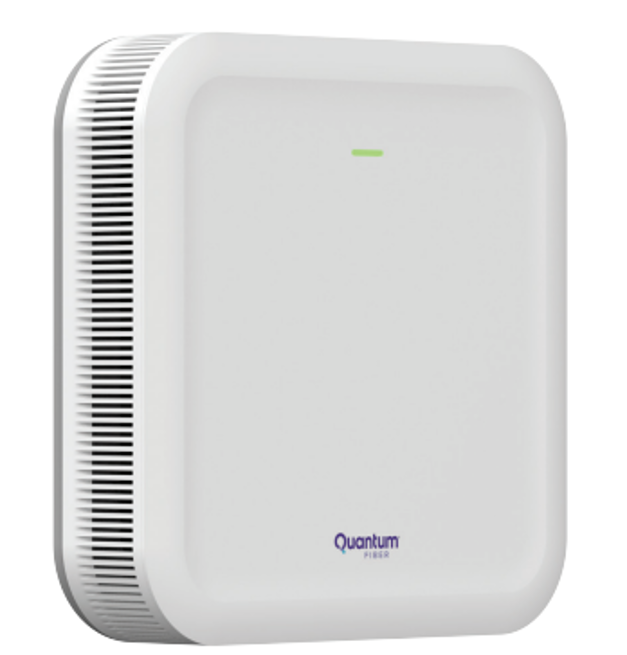
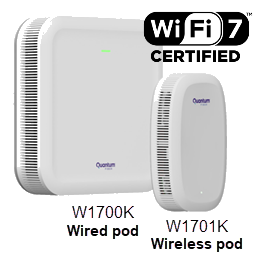
Wired pod W1700K
Caution: Not a modem! Do not attempt to replace your SmartNID with this device.
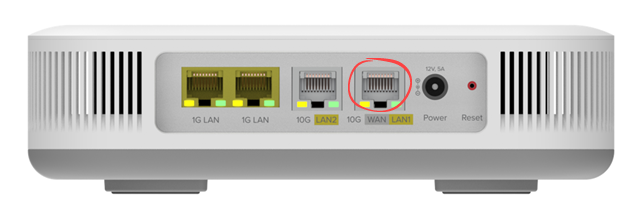
Wired pod - Plug the Ethernet cable into the 10G WAN/LAN port
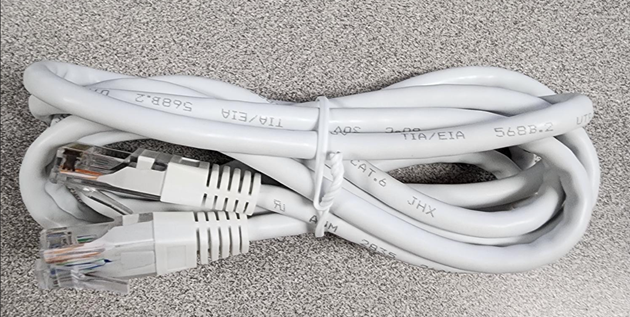
Cat6 Ethernet cord

C5500XK - Plug in to the WAN/LAN1 port

Q1000K - Plug in to the 10G LAN port
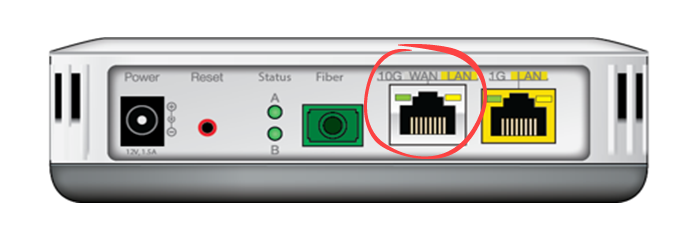
C6500XK - Plug in to the 10G WAN/LAN port
2. Set up new Wi-Fi. Enter a network name (SSID) and strong network password, then enter the password again to confirm. Later you'll need to manually reconnect each of your connected devices to this network using your new SSID and password.
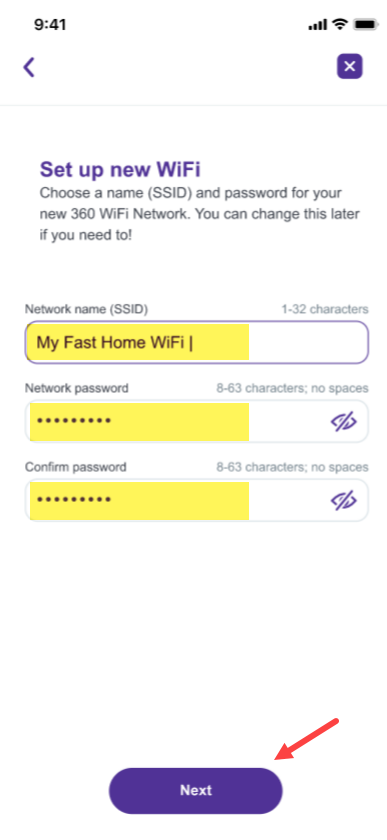
Note for Windows 10 devices - Password requirement
If you have a device running on the Windows 10 operating system, your Wi-Fi password cannot contain any apostrophes (') or quotation marks ("). If these characters are used in your current password, please remove them and save a new password in order to connect devices and see your Wi-Fi pods in the app.
This is only for Windows 10.
3. Looking for pods. The system will now locate your pod. This can take a few moments.

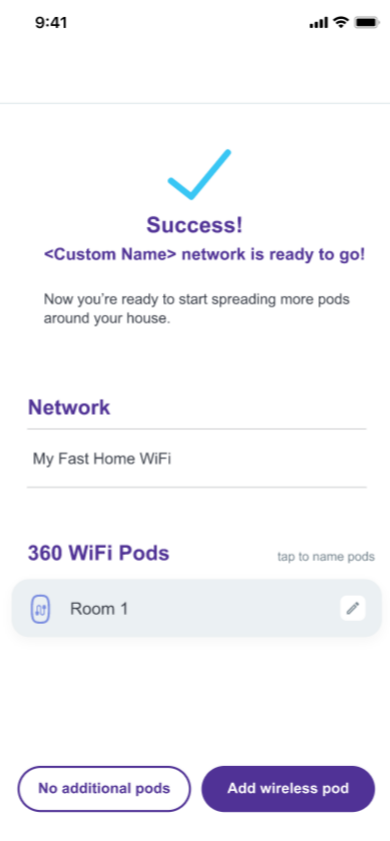
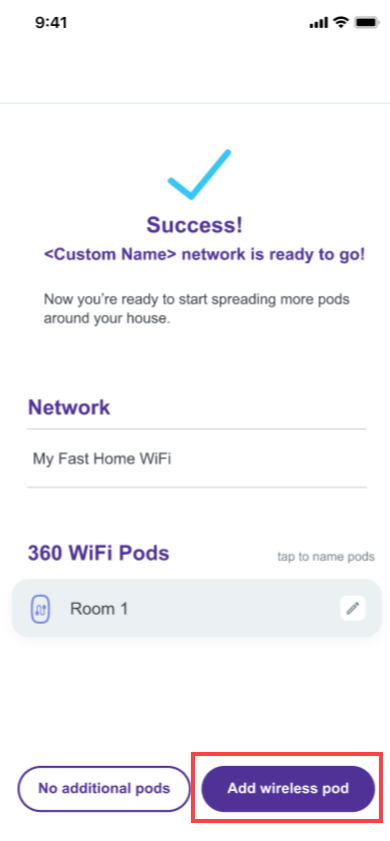
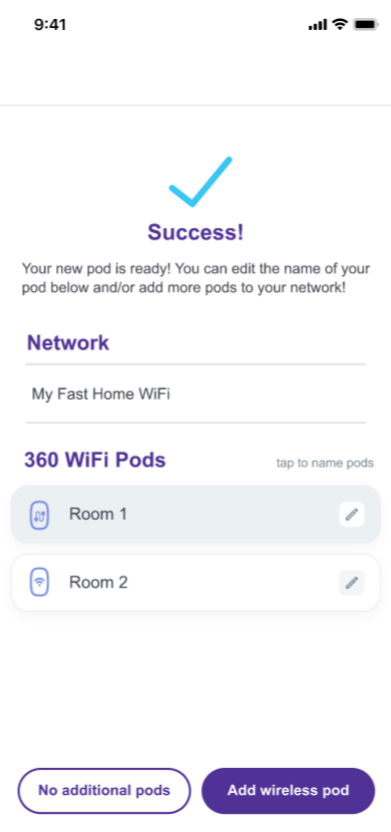
4. Success! Once it's complete, you'll see a success screen with the name of your new WiFi network and the pod you just added. Tap the pencil icon to edit the pod name, or you can skip this step and do it later.
Now you can connect devices to your network, set parental controls, and WiFi the night away.
Connect wireless pod (not required for all setups)
Did you get a second pod?
If your shipment included a wireless pod, continue with the next section.
Most households get plenty of coverage with one wired pod. Too many pods can cause interference and worse performance.
Try our troubleshooting guide for slow or spotty connections.
5. Tap Add wireless pod on the success screen.
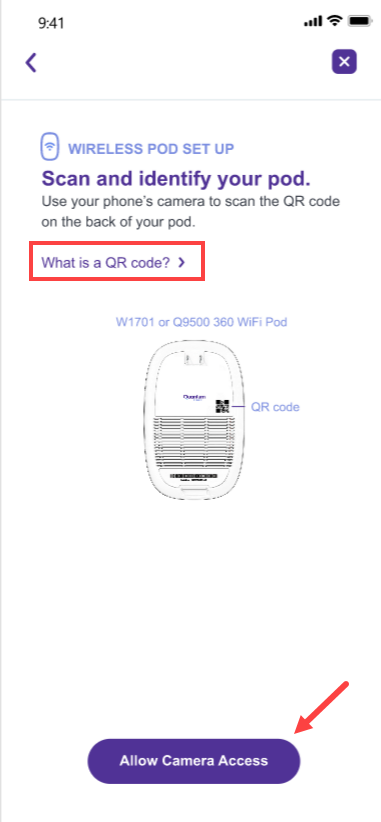
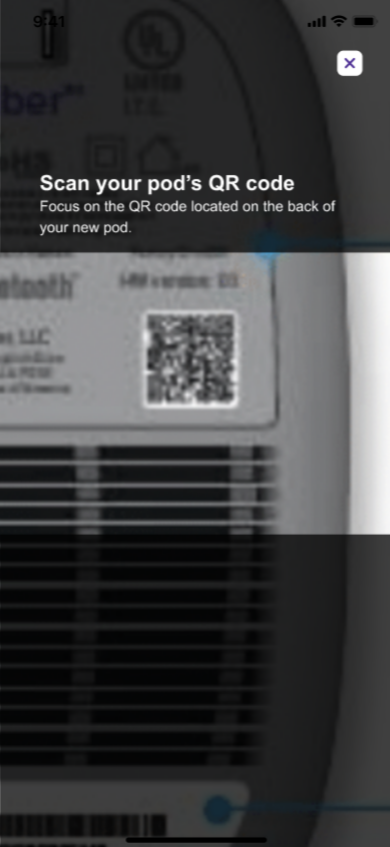
6. Scan and identify your pod. Using your phone’s camera, scan the QR code on the back of the W1701K wireless pod.
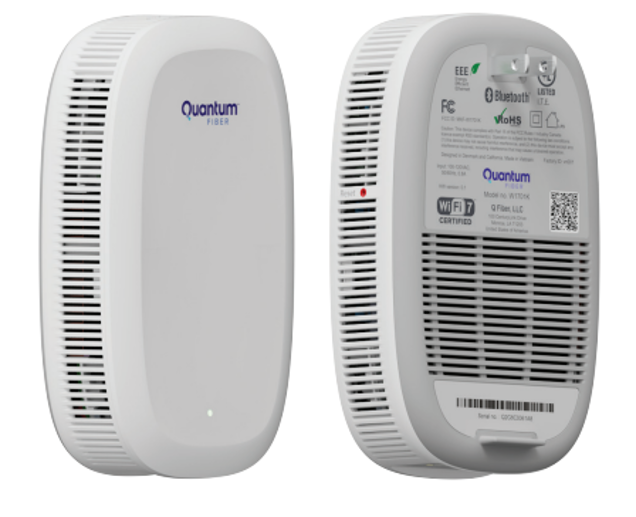
Front and back view of a wireless pod W1701K
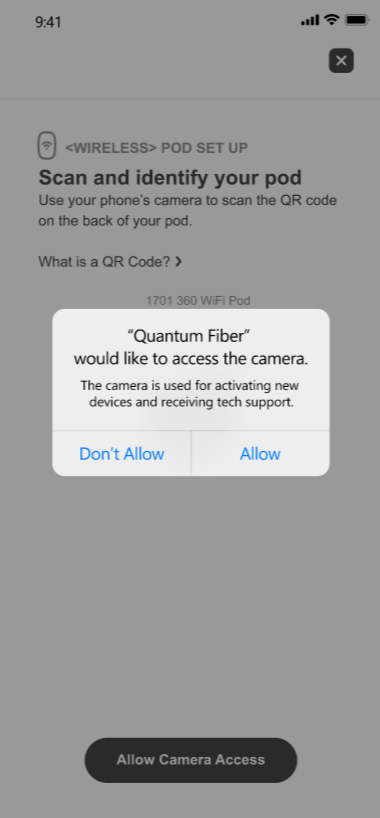
You will need to enable scanning on your phone; tap the Allow Camera Access button in the app, then tap Allow on the next screen. If you prefer, you can select Don't Allow and enter the pod serial number manually.
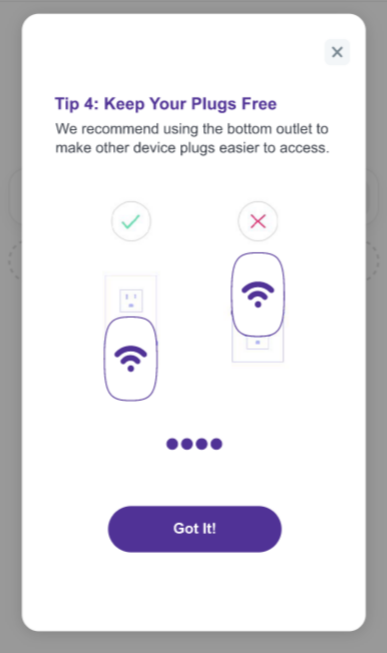
Note: If you need help placing your pod, tap the Pod Placement Tips link in the app, or review the tips in the drop-down below.
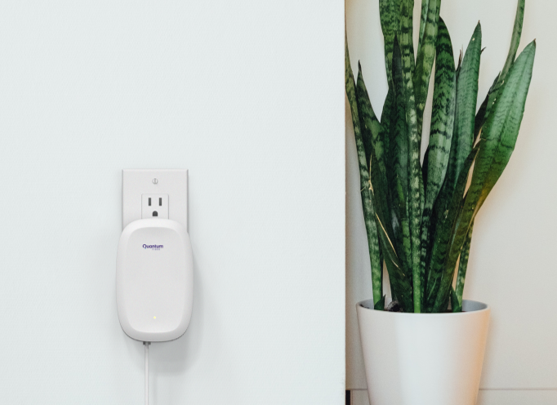
7. Plug the wireless pod into a power outlet and then tap Next in the app.
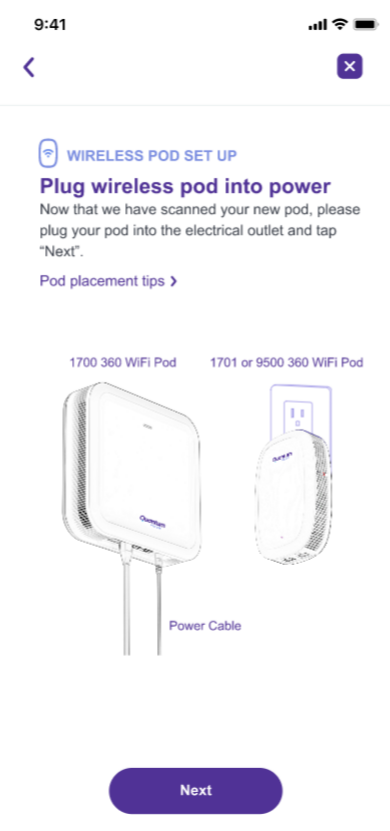
Front and back view of a wireless pod W1701K
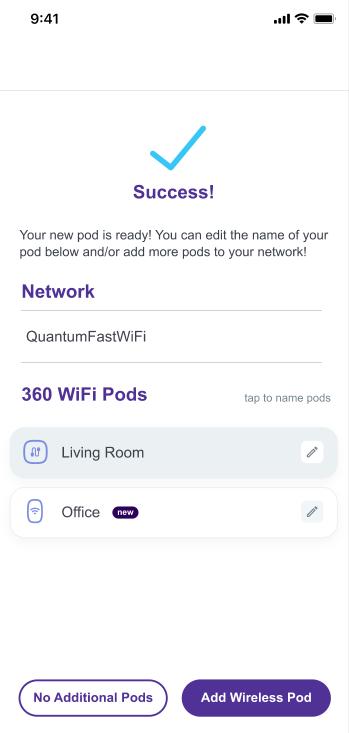
8. Name your pod. You can manually enter a location name or choose from one of the preset options. Then tap Save & continue. The purple status screen will show you it's working. The system will now add the wireless pod to your network.

9. Tap No Additional Pods, then Got it! to confirm optimization.
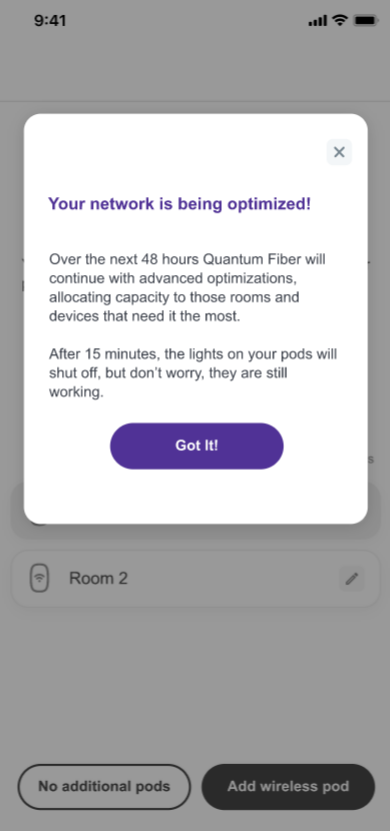
Your network will be optimized over the next 24 to 48 hours. As your pods send more information to the cloud, they will be continually fine-tuned to improve performance in your unique environment.
You will see the lights on the pods turn off after 15 minutes, and they will remain off during normal everyday use.
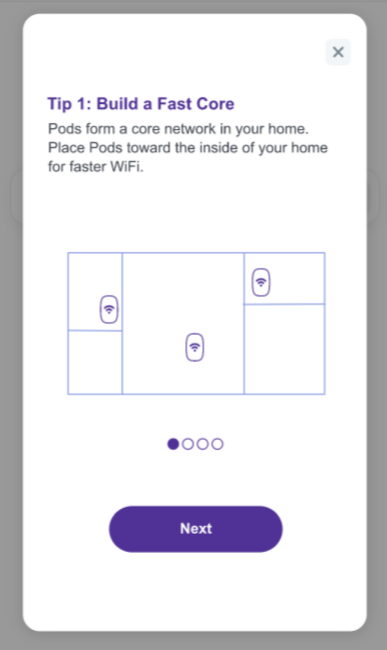
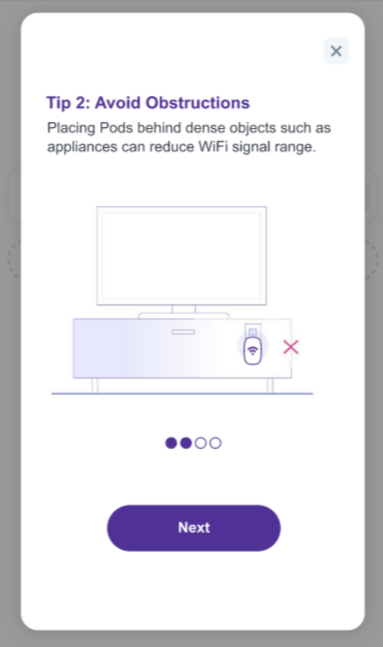
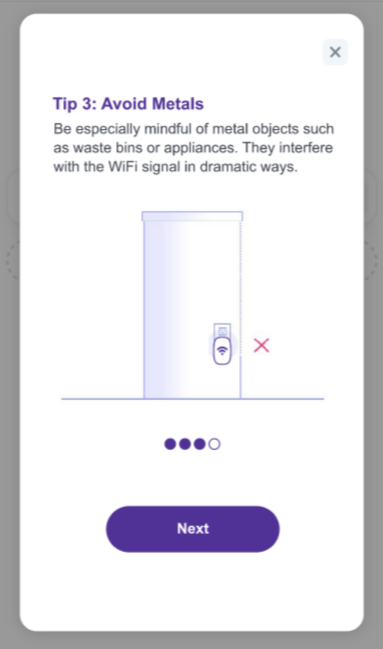
Wireless pod placement tips:
- For a single-level home, place the wireless pod mid-way between the farthest room where you need a wireless connection and the SmartNID + wired pod.
- For a multi-level home, place your wireless pod on a different level than the SmartNID + wired pod.
And that’s it—you’re ready to enjoy your 360 WiFi! The system will continue to adapt and improve intelligently as it learns your preferences and needs.
Special notes for 2.4 GHz smart home devices and smart TVs
Smart home devices, such as security cameras and doorbells that need a 2.4 GHz connection, should be auto-detected and connected to your 360 WiFi network automatically. If you have trouble getting a device to connect, try making sure the device has updated firmware.
If the device still won't connect after installing updates, contact us for help.
You should be able to connect your Smart TVs in the usual way: by locating your network name in the list of available networks, then entering your WiFi password.
If you run into trouble, here are some troubleshooting steps you can follow.
Need more help? Chat with us here, in the app, or from the account portal. If you prefer to call, that's an option.
Related topics
Get the app


Manage your Quantum Fiber account
Was this information helpful?
© 2026 AT&T Intellectual Property. AT&T and globe logo are registered trademarks of AT&T Intellectual Property. All other marks are the property of their respective owners.


© 2026 AT&T Intellectual Property. AT&T and globe logo are registered trademarks of AT&T Intellectual Property. All other marks are the property of their respective owners.