
How to install a 360 WiFi® pod
Learn how to install a new or replacement pod to your 360 WiFi network.
Need to move an existing pod to a new location? Simply unplug it, move it to the new spot and plug it back in. It's already been added to your network, and should reconnect on its own.
Install a new pod through the app
Once you've received a new pod, add it to your network.
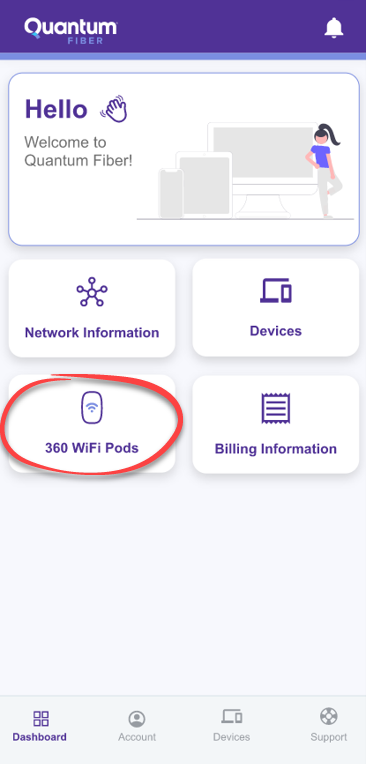
1. Open the Quantum Fiber app on your mobile device and sign in.
2. Tap on 360 WiFi Pods.
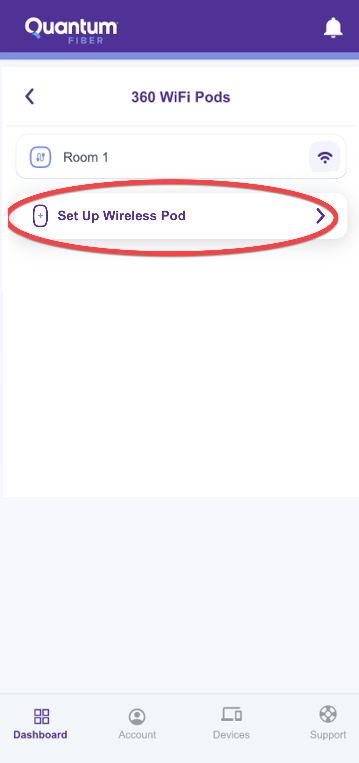
3. Tap Add Wireless Pod.
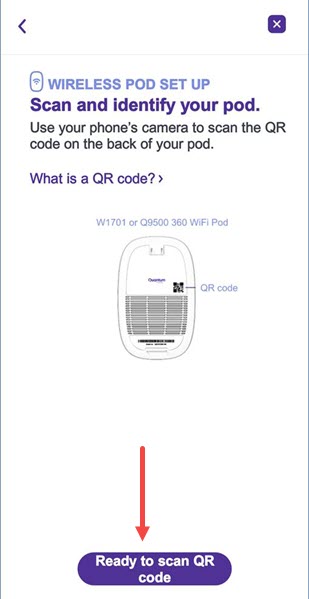
4. On the next screen, tap Ready to scan QR Code.
5. Tap Allow to enable your phone's camera. If you don't want to allow camera access, you can tap Don't Allow and enter the serial number manually.
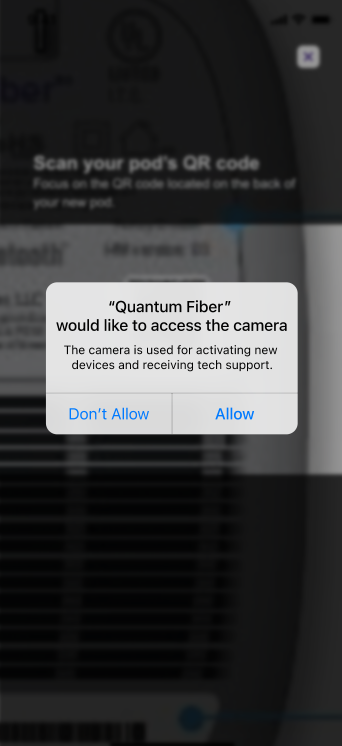
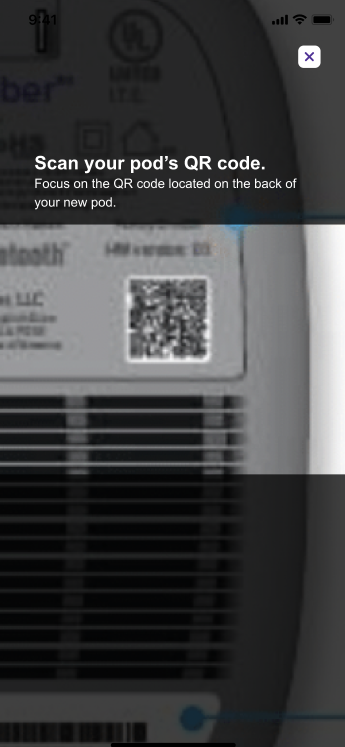
If you allowed camera access, use your phone to scan the QR code on the back of the pod. If you selected Don’t Allow, enter the serial number using all UPPER CASE letters.
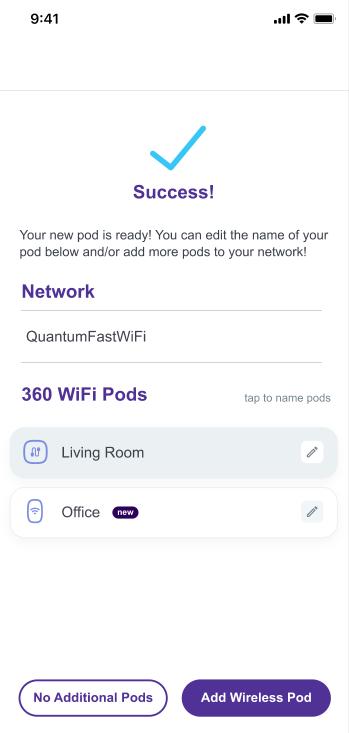
6. The system will now add the new pod to your network. When it's finished, a success screen will show your network name and all connected pods.
Need more help? Chat with us here, in the app, or from the account portal. If you prefer to call, that's an option.
Related topics
Get the app


Manage your Quantum Fiber account
Was this information helpful?
© 2026 AT&T Intellectual Property. AT&T and globe logo are registered trademarks of AT&T Intellectual Property. All other marks are the property of their respective owners.


© 2026 AT&T Intellectual Property. AT&T and globe logo are registered trademarks of AT&T Intellectual Property. All other marks are the property of their respective owners.